Managing Your Classes in QuizWhiz
This guide explains how to create and manage classes within QuizWhiz, allowing you to organize your students and track their progress on quizzes.
Creating a New Class
- Log in to your QuizWhiz account.
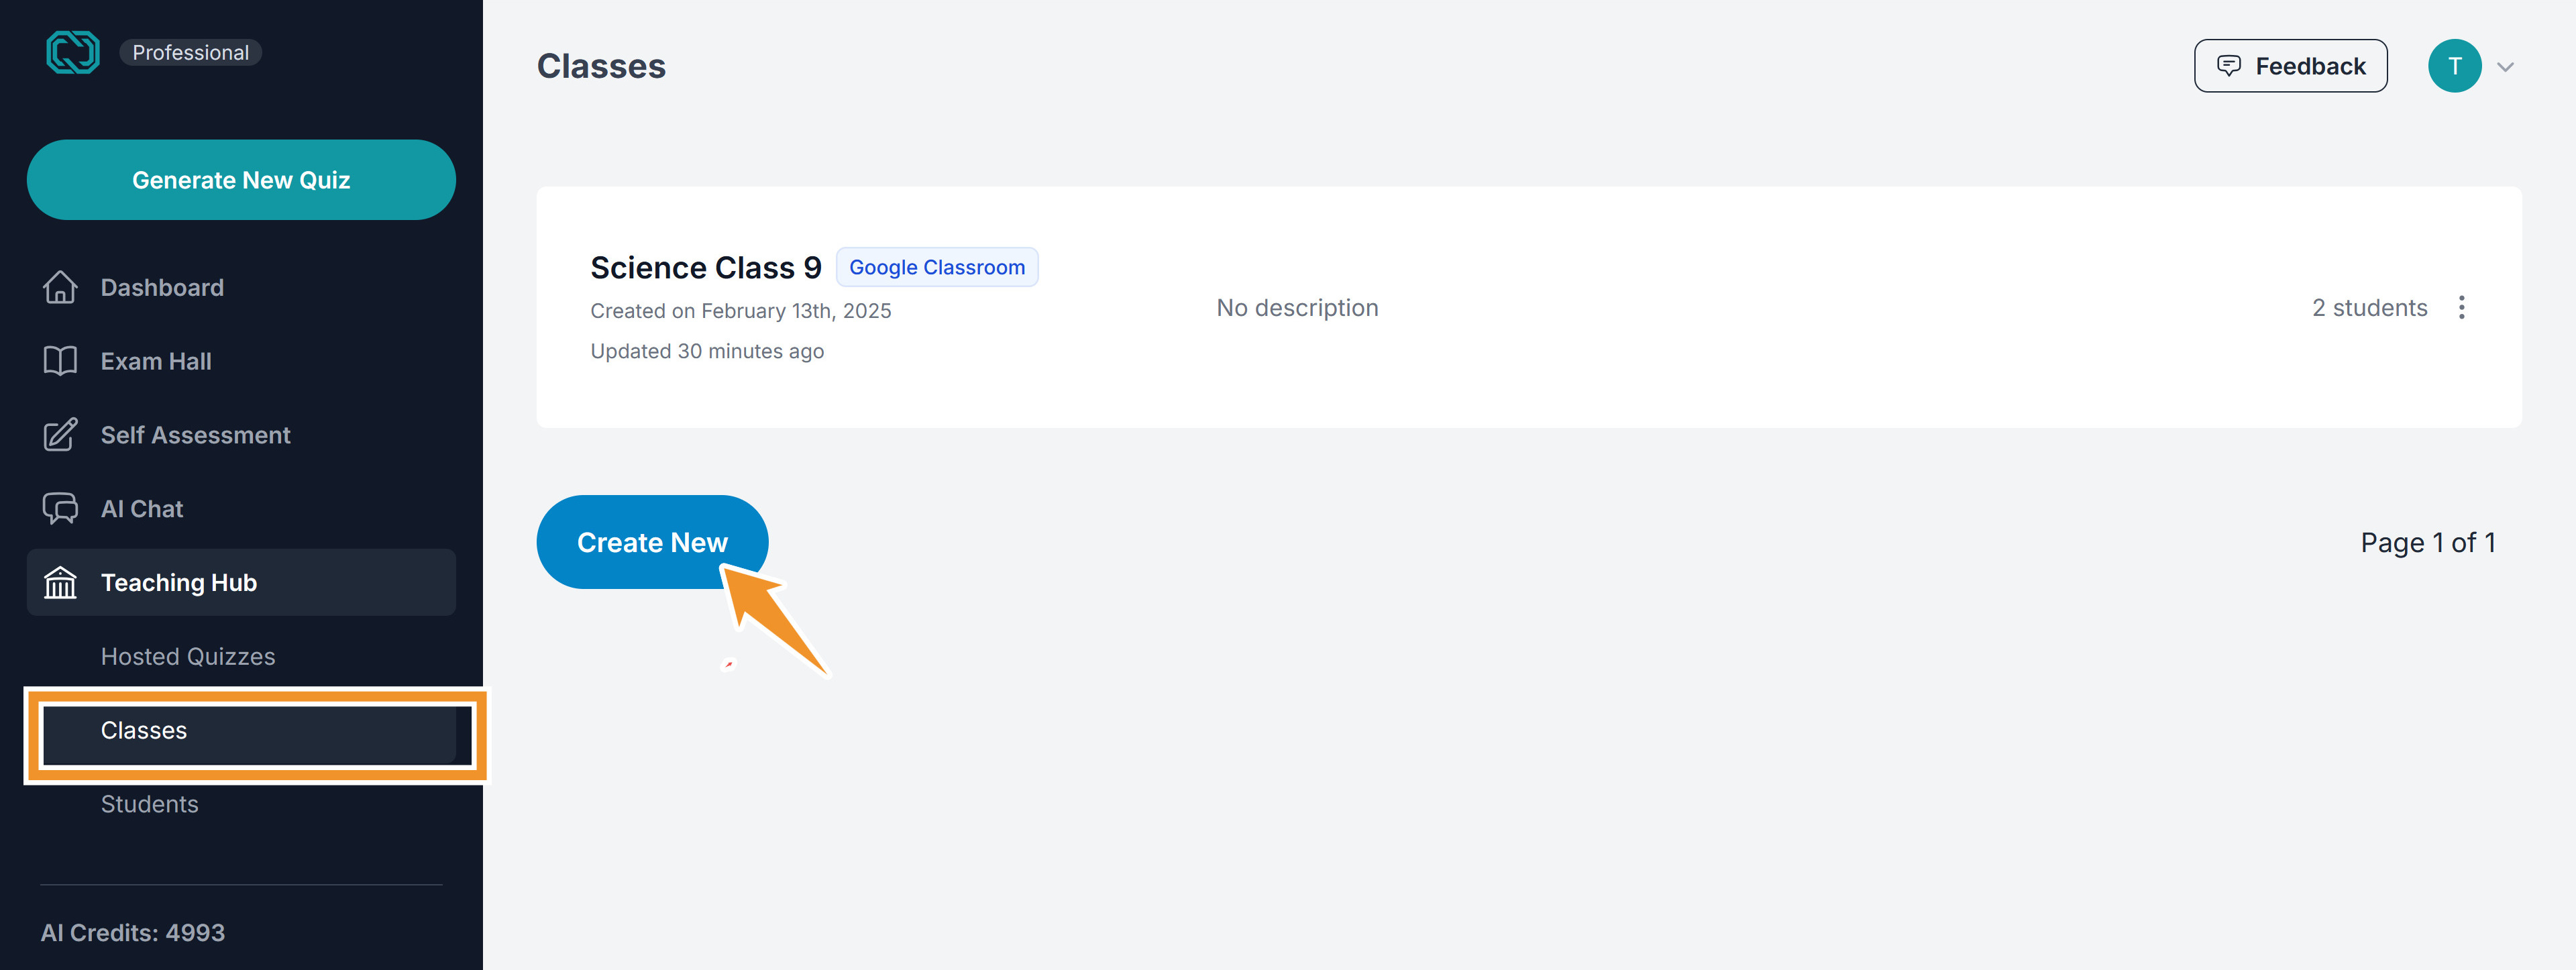
- Navigate to the "Classes" section from the sidebar and click on the "Create New" button.
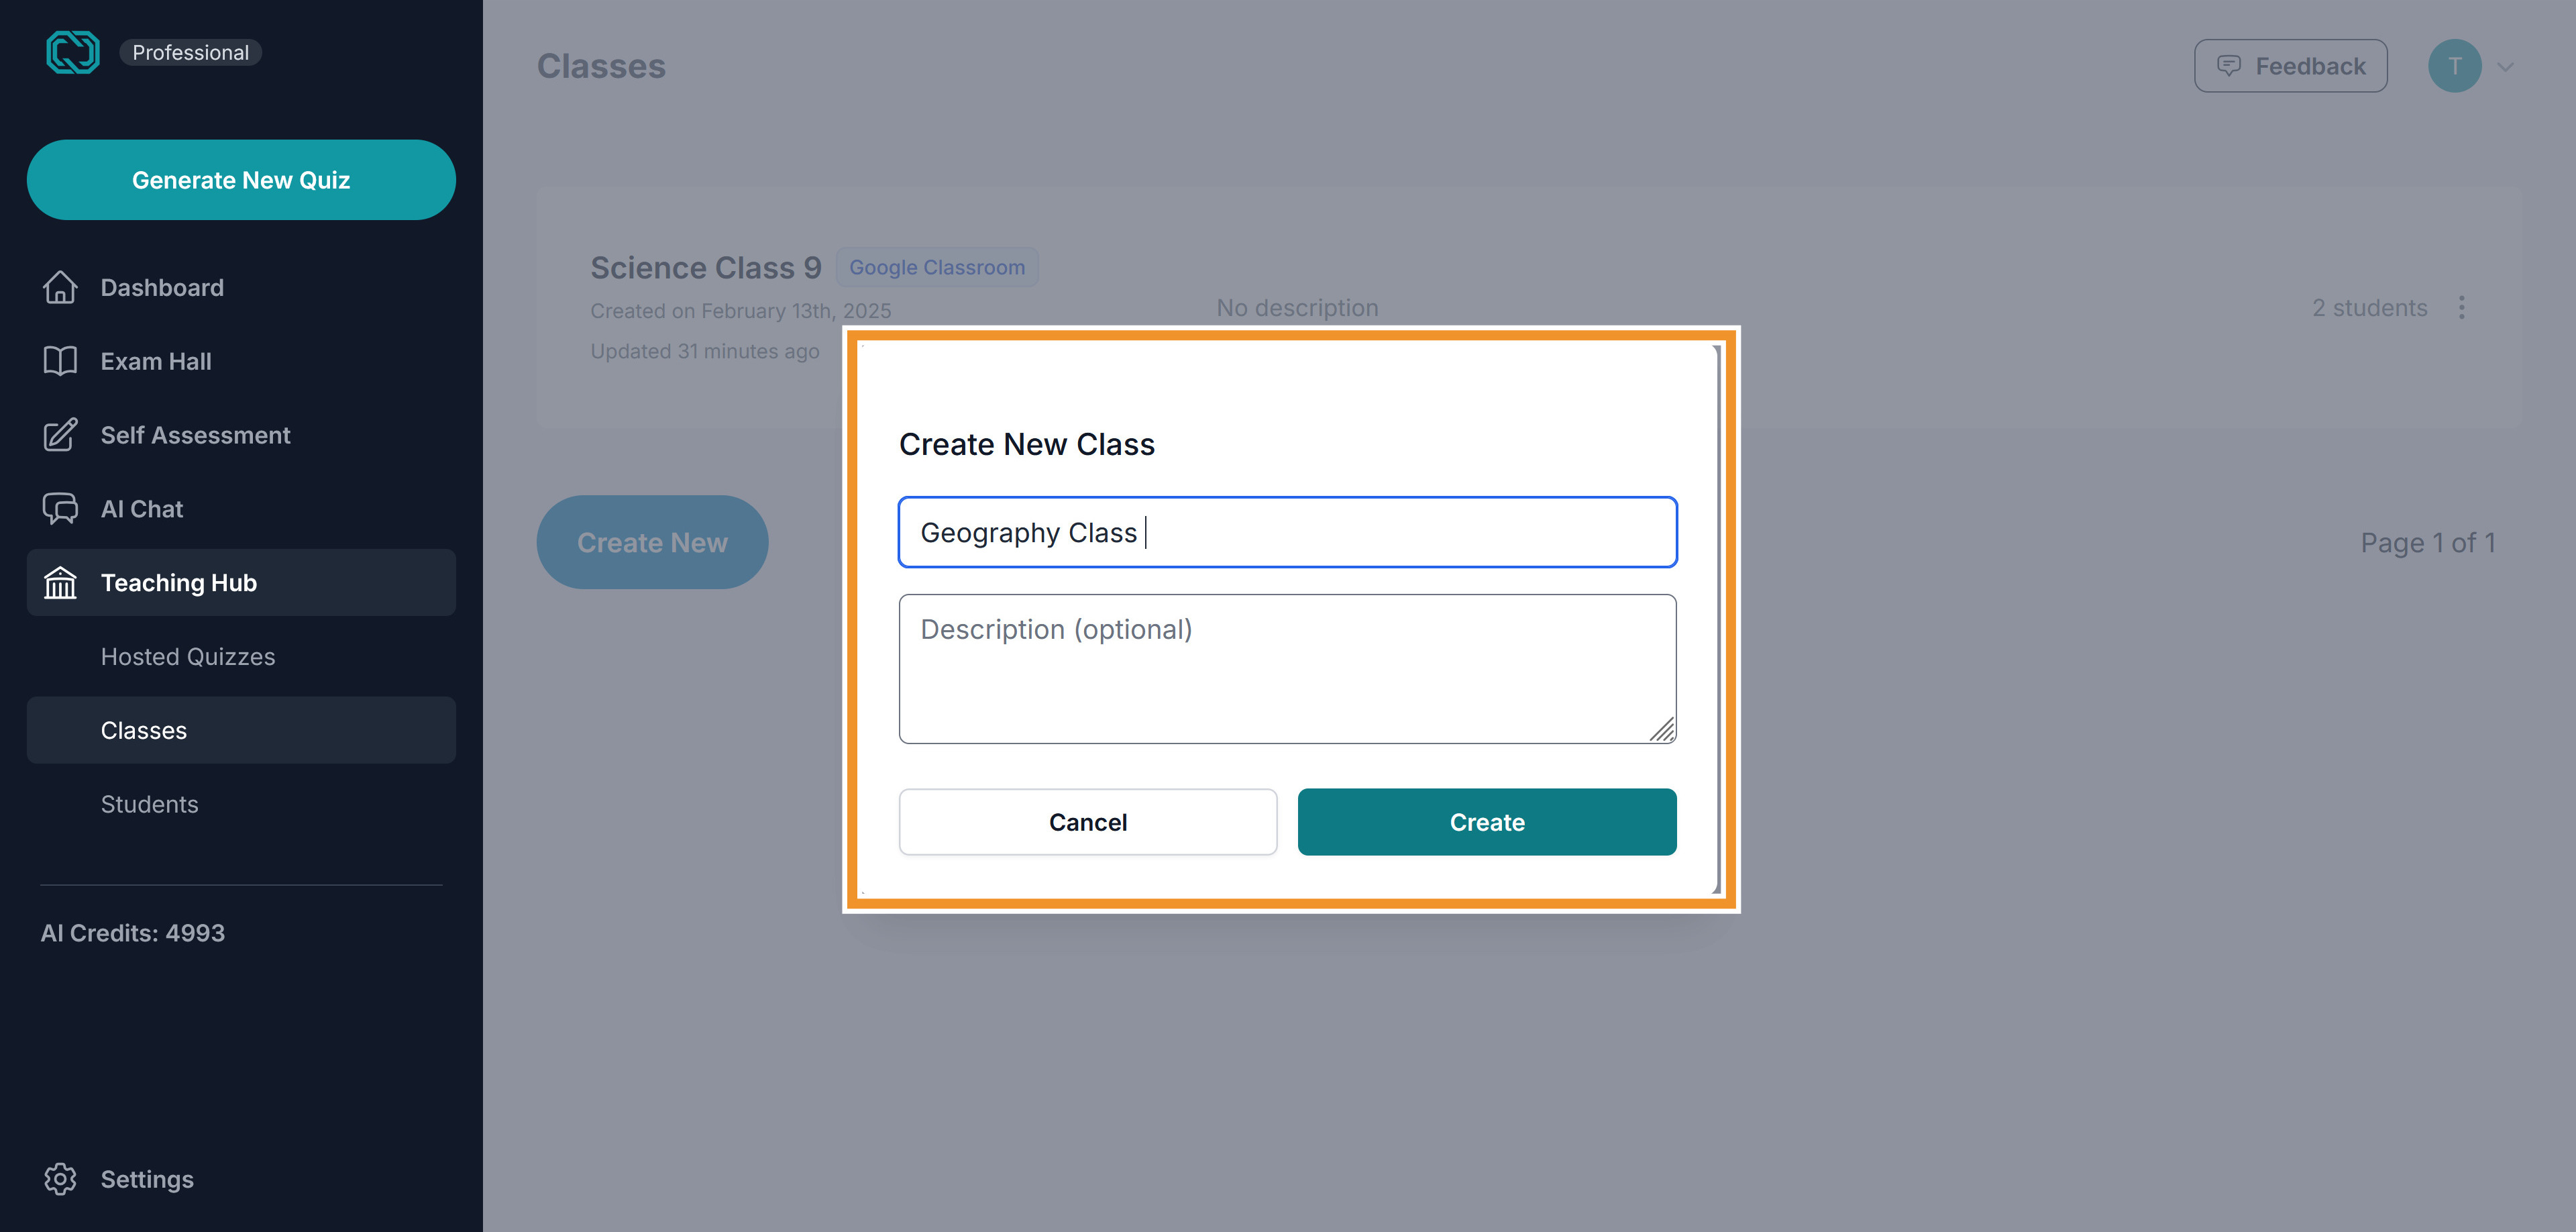
- Enter the name and optionally the description of the class
Adding Students to Your Class
- Now to add students to the class and click the "Add Students" button.
- You will have 2 options to enter the student data: Manually or using a Csv file:

- If you choose Manual Entry, then you will be able to enter a comma separated list of email addresses.
-
Here we will show how import students using a csv file:
i. Click Import CSV and choose the .csv file.
ii. Then you will get the option to map the columns in your csv file to the fields that are recognized in QuizWhiz
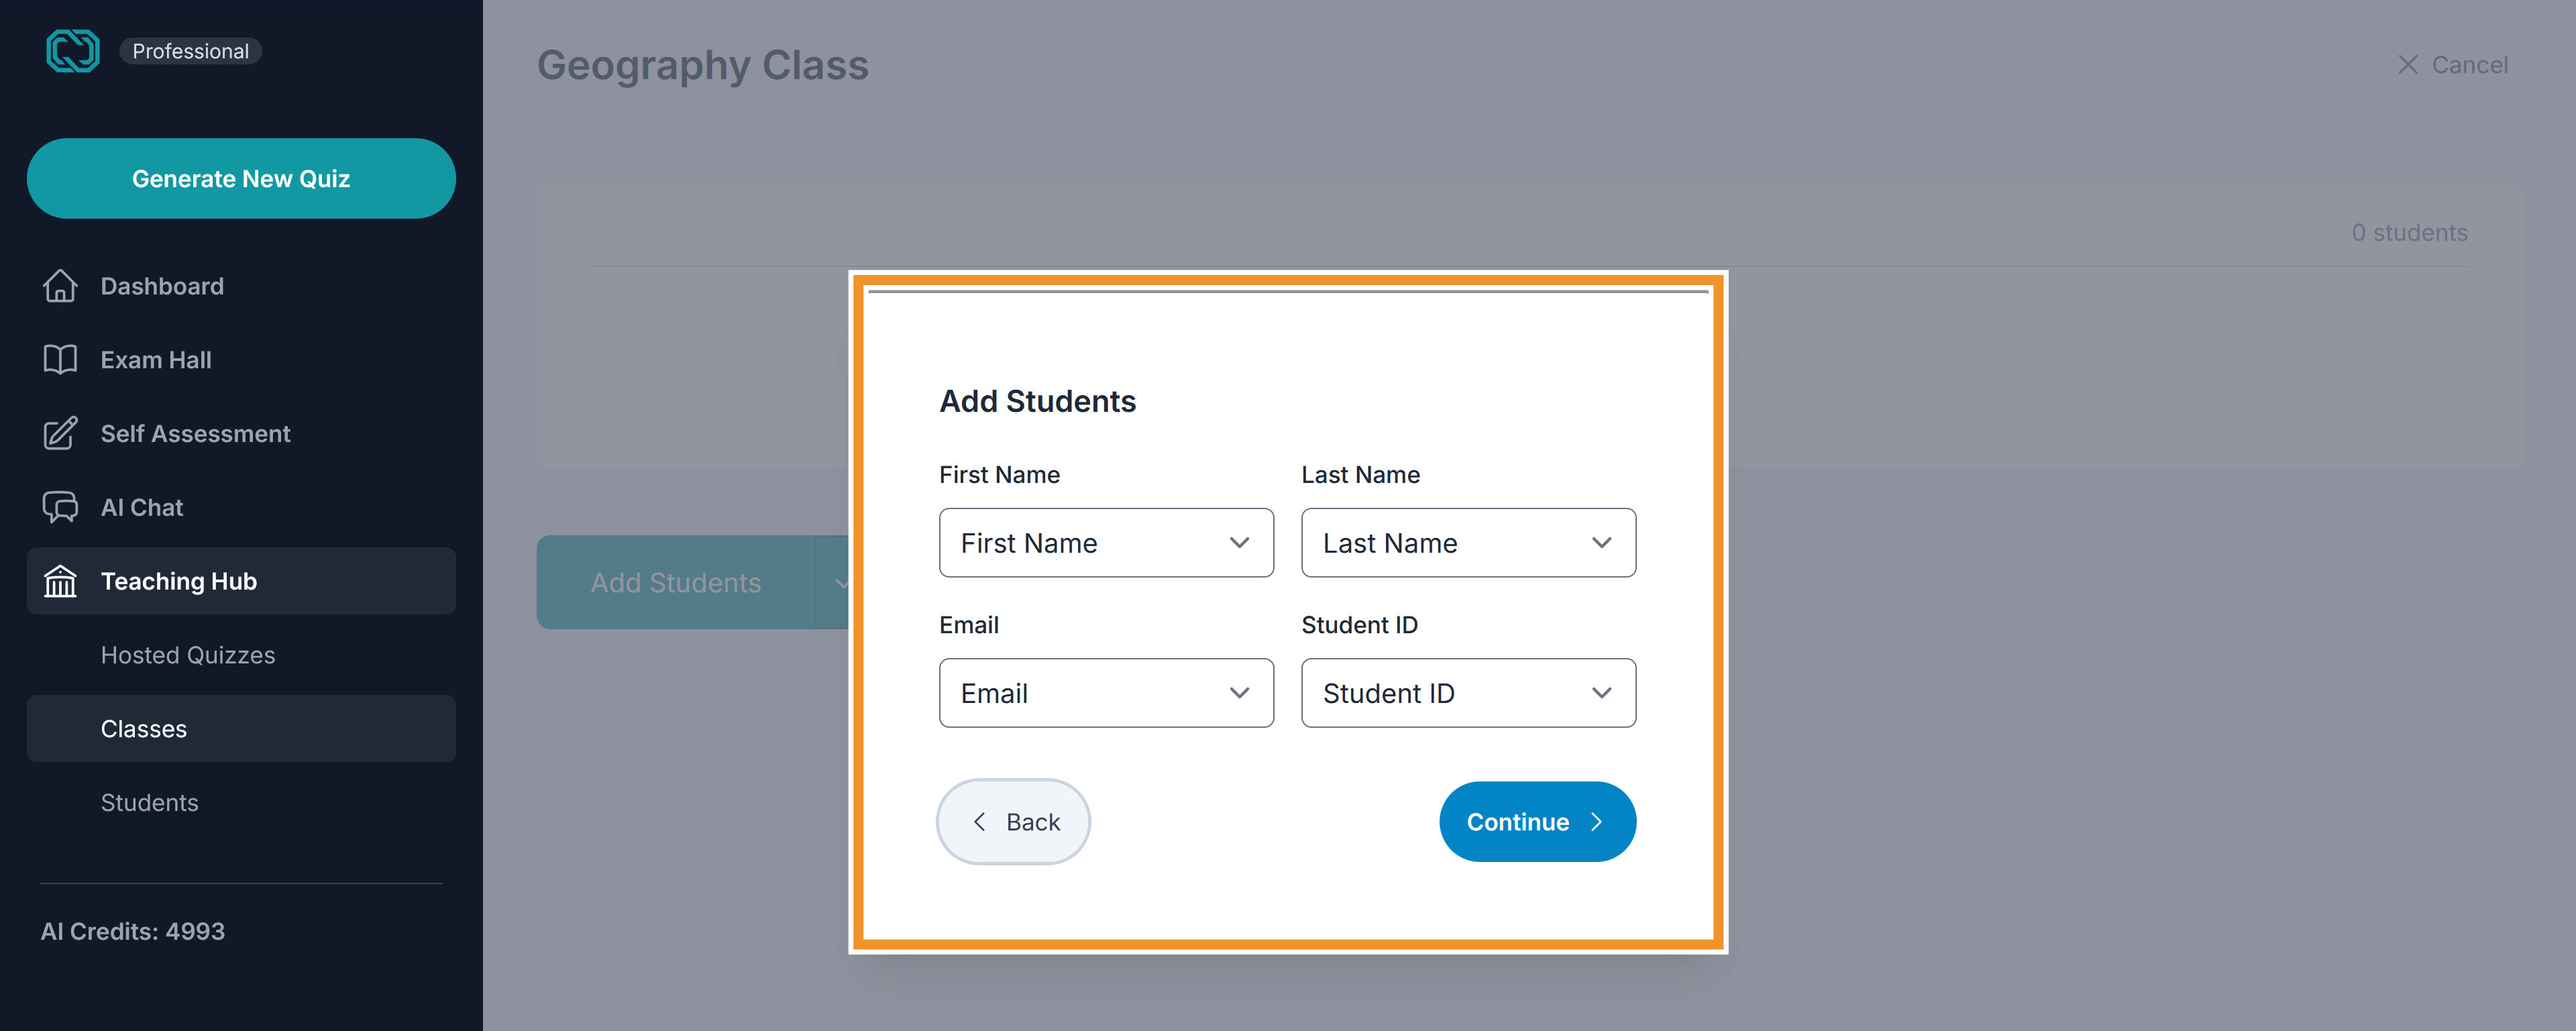 The supported fields in QuizWhiz are: First Name, Last Name, Full Name, Student ID and Email. The column names can be anything, hence the mapping mechanism.
iii. Review the mapped data.
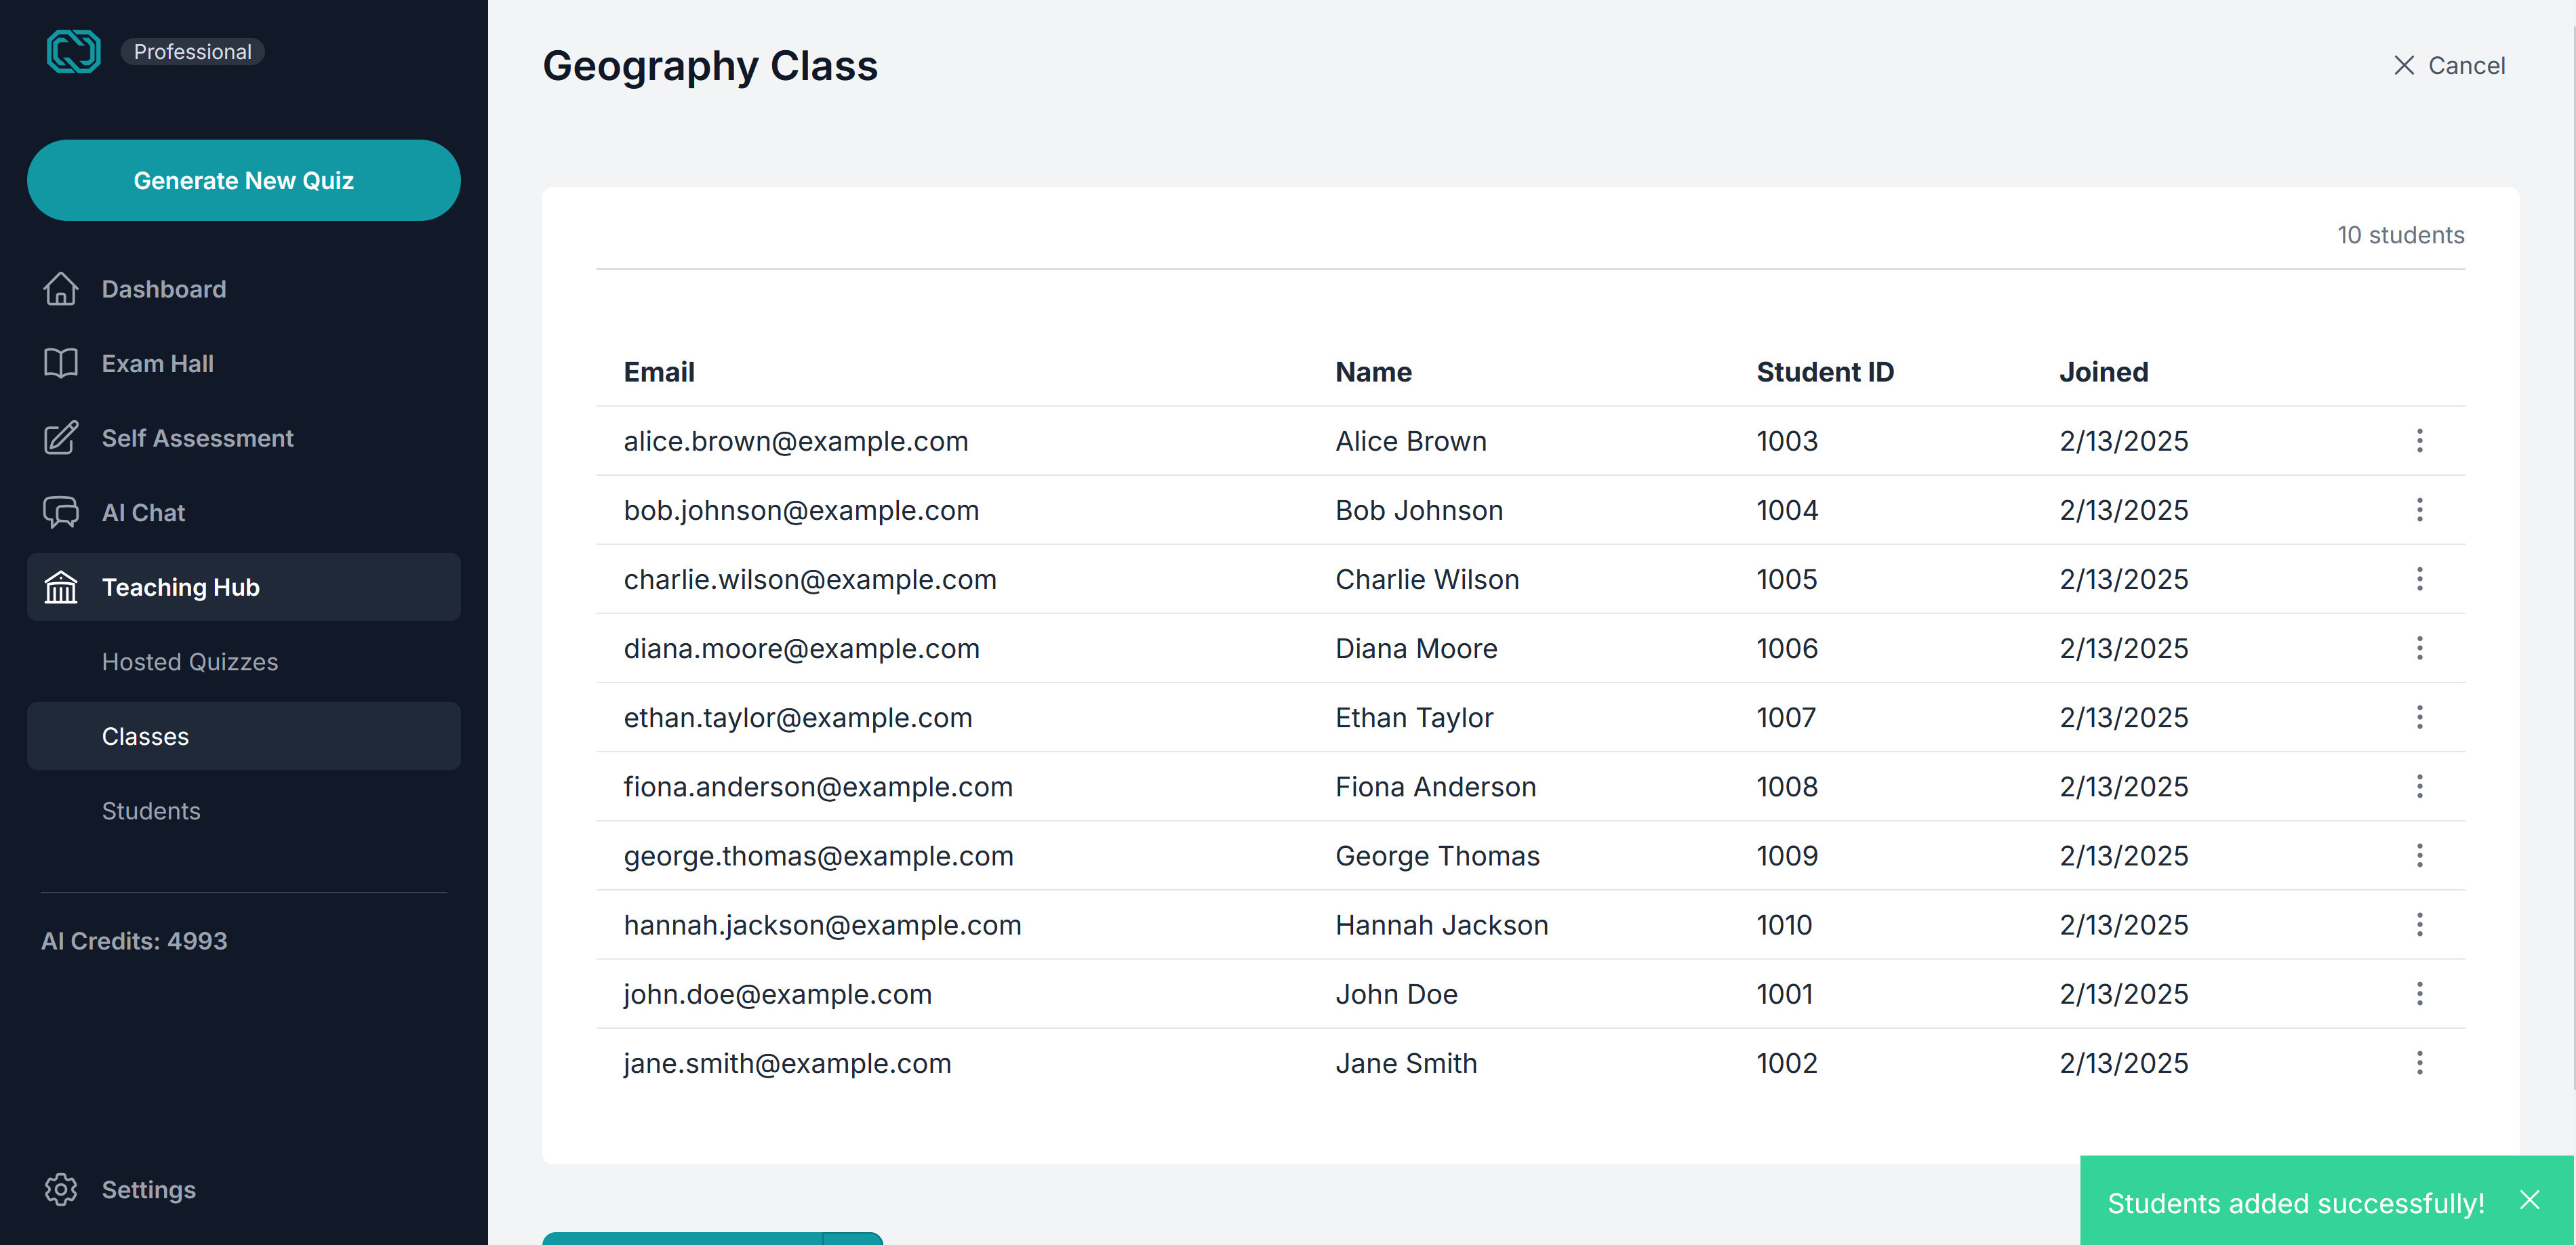
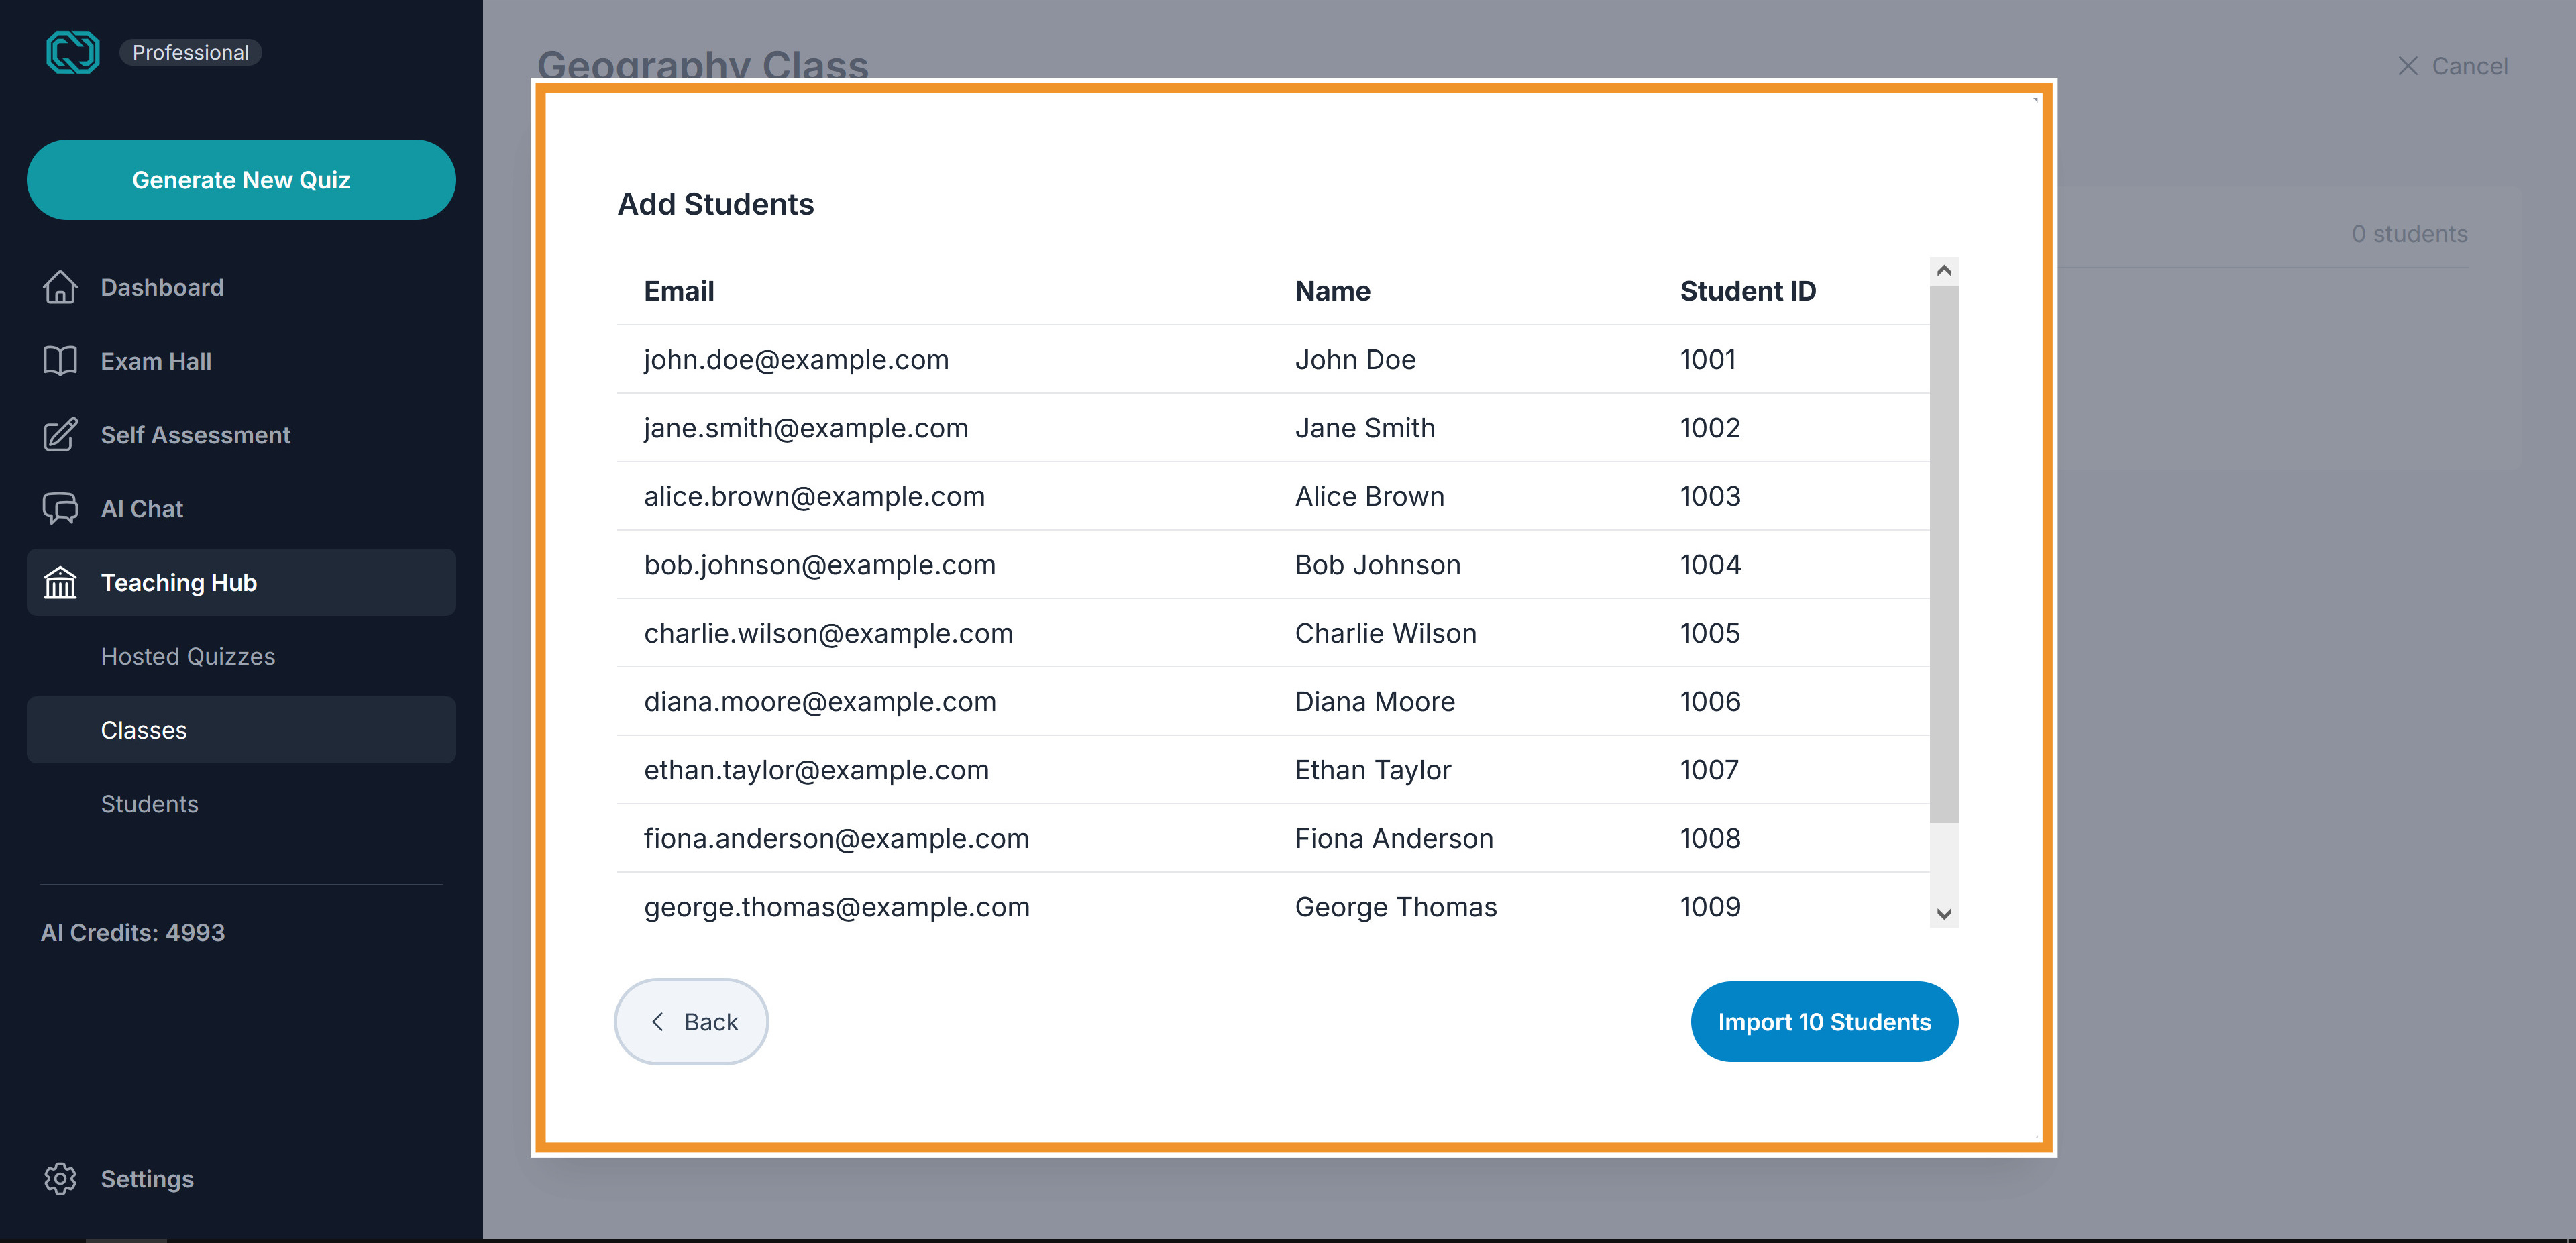 iv. View the Imported Students
Importing Students from Google Classroom
For detailed instructions on importing students from Google Classroom, please see our dedicated guide:
Brief Overview:
- Go to the "Settings > Integrations".
- Click on the big blue button "Connect Google Classroom and Forms".
- Follow the prompts to connect your Google Classroom account.
- Review the imported classes from Teaching Hub > Classes.
If you have any further questions, please don't hesitate to contact us at admin@quizwhiz.ai.